New Age Auto Painting Blog · July 20, 2026
Best Ways to Fix Paint Chips on Your Car
Learn the best ways to fix paint chips, when a touch-up will work, and when Lakeland drivers should choose professional auto body refinishing services.
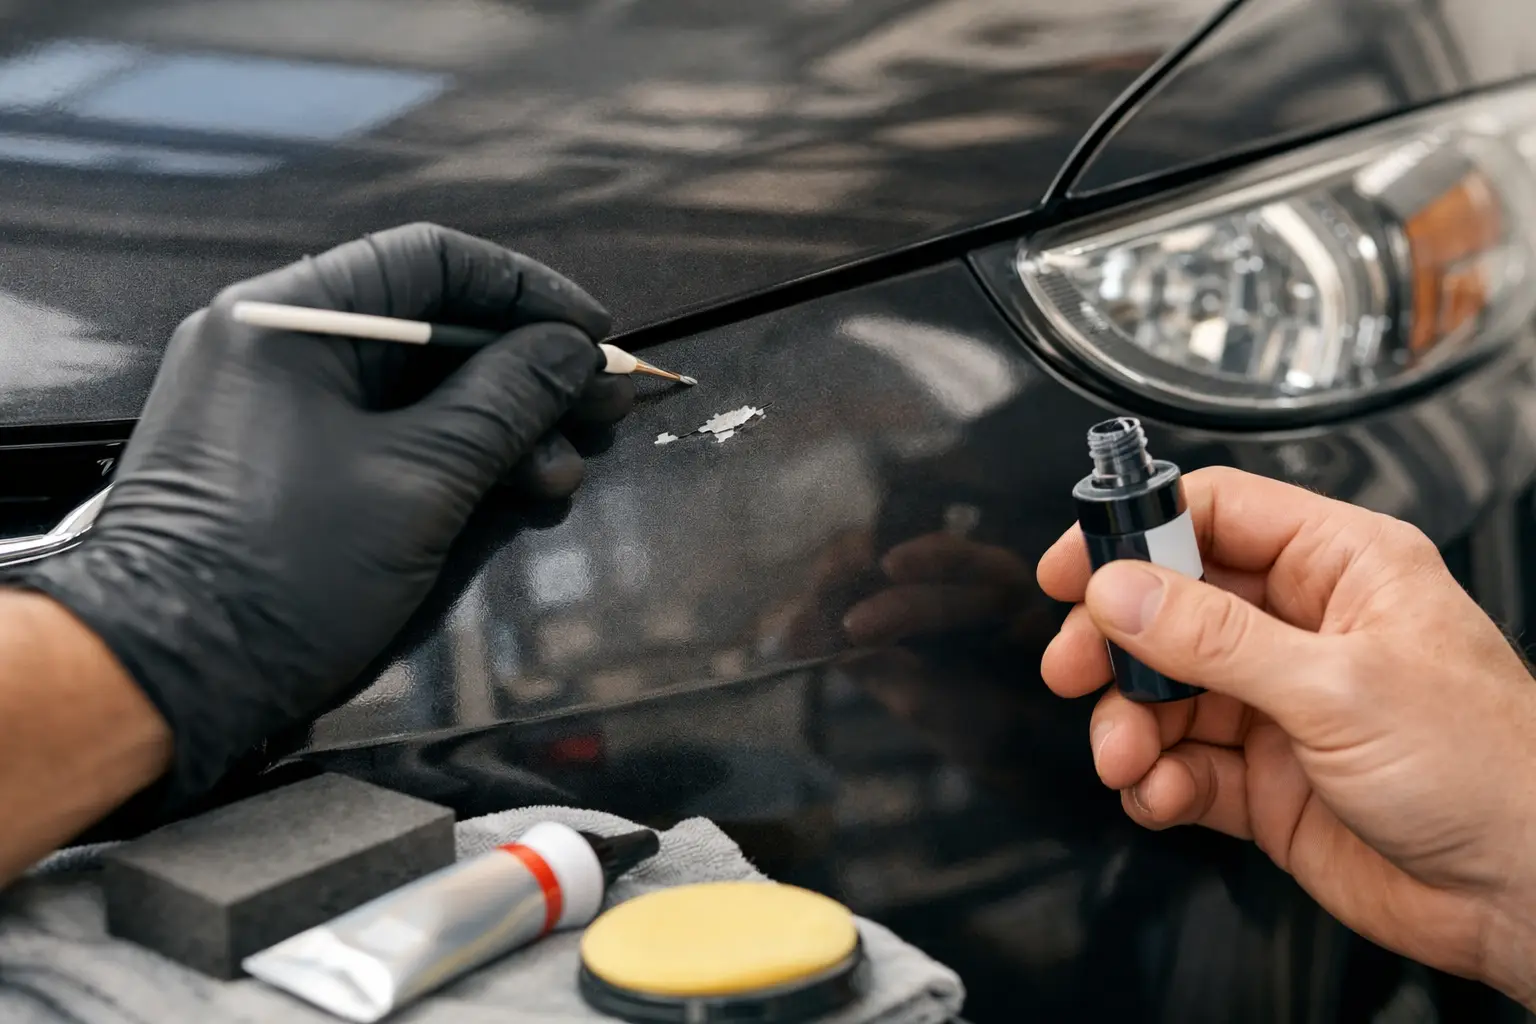
A paint chip may look minor in a parking lot, but it can become a bigger repair in Lakeland’s heat, humidity, and frequent rain. The best ways to fix paint chips depend on how deep the damage goes, where it is located, and whether bare metal, plastic, or rust is exposed. A quick touch-up can protect a small chip. Damage that reaches the metal or affects a larger painted area usually calls for professional preparation and refinishing.
Start by Checking How Deep the Chip Is
Not every chip needs the same repair. Look closely at the damaged spot in direct light after washing the panel. If you can see only a light mark in the clear coat or color layer, the repair may be cosmetic. If the chip exposes gray metal, a dark primer layer, or bare plastic on a bumper, the surface needs protection before moisture and contaminants work underneath the surrounding paint.
Rust is the clearest sign that the repair should not wait. Even a small rust spot can spread below intact paint, especially around a hood edge, roofline, wheel opening, or door edge. Touch-up paint applied over active rust may hide it temporarily, but it will not stop corrosion. The rust must be removed and the surface properly sealed before color is applied.
Location matters as well. A small chip on the center of a bumper is often less urgent than one on a hood’s leading edge, where road debris will keep striking the area. Chips near body seams, trim, panel edges, and windshield moldings can allow moisture under the finish and deserve closer attention.
Best Ways to Fix Paint Chips at Home
A do-it-yourself touch-up is a reasonable option when the chip is small, clean, and limited to one or two spots. It is not designed to create an invisible repair from every angle. Its main benefit is sealing the damaged area and making the blemish less noticeable.
Before applying anything, wash the panel with automotive soap and dry it completely. Then clean the chip carefully with a wax and grease remover or a suitable automotive surface cleaner. Road film, wax, and leftover polishing products can prevent touch-up paint from adhering correctly.
Use paint that matches your vehicle’s factory paint code, not just the color name. The paint code is commonly found on a label inside the driver’s door jamb, under the hood, or in another manufacturer-designated location. A color called white, silver, or black can have several different formulas depending on the vehicle’s year, trim, and production date.
Apply small amounts of paint rather than trying to fill the chip in one heavy pass. A fine brush, paint pen, or small applicator can work for a pin-sized chip. Let each thin layer dry according to the product instructions. If the chip reaches bare metal, use the appropriate primer first, followed by color and clear coat where needed.
The goal is to build the repair gradually, not leave a raised blob of paint on the panel. After the paint has fully cured, careful leveling and polishing may improve the appearance. That step requires patience. Aggressive sanding or polishing can damage the surrounding clear coat and turn a small chip into a larger refinishing job.
When a Touch-Up Repair Is Not Enough
Touch-up paint has limits. It will not correct peeling clear coat, cracking paint, widespread stone chips, deep scratches, dented metal, or damage caused by a collision. It also cannot properly repair a chip where the paint has lifted around the edges, because the remaining finish may continue to separate from the panel.
A professional auto body repair is usually the better choice when the damaged area is larger than a small spot, when multiple chips are concentrated across a hood or bumper, or when the panel has a dent underneath the paint damage. The surface must be repaired and leveled before refinishing. Painting over an uneven panel may match the color, but it will not restore the vehicle’s appearance.
Professional repair also makes sense for newer vehicles, luxury finishes, metallic colors, pearls, tri-coats, and colors that shift in different lighting. These finishes are difficult to blend with a basic bottle of touch-up paint. Even with the correct paint code, factors such as sun exposure and the angle of metallic flake can make a spot repair stand out.
What Professional Paint Chip Repair Involves
A proper paint repair begins with inspection, not paint application. A technician checks for rust, loose paint, dents, previous repairs, and panel damage that may not be obvious at first glance. The repair area is then cleaned, sanded, and feathered so the new coatings can bond to a stable surface.
If bare metal is exposed, the technician applies the appropriate corrosion protection and primer. Any dent or surface imperfection is repaired before the color coat is sprayed. For larger damage, the color may need to be blended into adjacent sections of the panel to create a consistent appearance rather than leaving a visible repair edge.
Clear coat is then applied to protect the color and restore gloss. Once cured, the surface may be polished to refine the finish. The result should look consistent with the surrounding panel while providing the protection that a simple brush-on repair cannot always deliver.
This process takes more time than a quick touch-up, but it addresses the cause of the problem rather than covering it. It is particularly valuable when a paint chip follows a minor collision, a parking-lot impact, or a deeper scrape that may have affected the bumper cover or body panel beneath the finish.
Avoid These Common Paint Chip Mistakes
The fastest way to make a paint chip look worse is applying too much paint too soon. Thick touch-up paint can shrink, crack, or leave a noticeable raised spot. Work in thin layers and allow proper drying time.
Do not apply paint over dirt, wax, moisture, or rust. Paint needs a clean, dry, stable surface to adhere. Skipping preparation can lead to early failure around the edges of the repair.
Avoid using household paint, nail polish, or an unmatched spray paint as a long-term solution. These products may appear close in color at first, but they generally do not match automotive finishes or hold up against sunlight, road debris, and weather exposure.
Finally, do not assume every scratch can be polished out. Polishing can improve light scuffs that sit in the clear coat. If a scratch or chip has broken through the color coat, polishing will not replace missing paint. In some cases, it can make the thin surrounding clear coat worse.
Protect the Finish After the Repair
Once the chip is repaired, regular washing helps remove grit and contaminants that wear down the finish. Use gentle automotive wash products and clean microfiber towels rather than abrasive brushes. A quality wax or paint sealant can add a layer of protection, although it will not prevent every impact from road debris.
Leave a little extra following distance behind trucks, trailers, and vehicles traveling on freshly resurfaced roads. Loose gravel and construction debris are common causes of hood, bumper, and lower-panel chips. If your daily drive includes highway miles, a paint protection film applied to high-impact areas may be worth considering.
For Lakeland drivers, prompt repair is often the practical choice. Florida weather can accelerate the effect of exposed metal and failing paint edges. New Age Auto Painting can inspect paint chips alongside any related dent, scrape, or collision damage and recommend whether targeted refinishing or a more complete panel repair will deliver the right result.
A small chip does not always require a full repaint, but it should not be ignored until it becomes one. Addressing the damage while it is contained is usually the simplest way to keep your vehicle looking clean and protect the bodywork underneath.