New Age Auto Painting Blog · April 5, 2026
Collision Repair Process Explained
Learn how the collision repair process works, from damage assessment to paint matching and final inspection for safe, quality vehicle restoration.
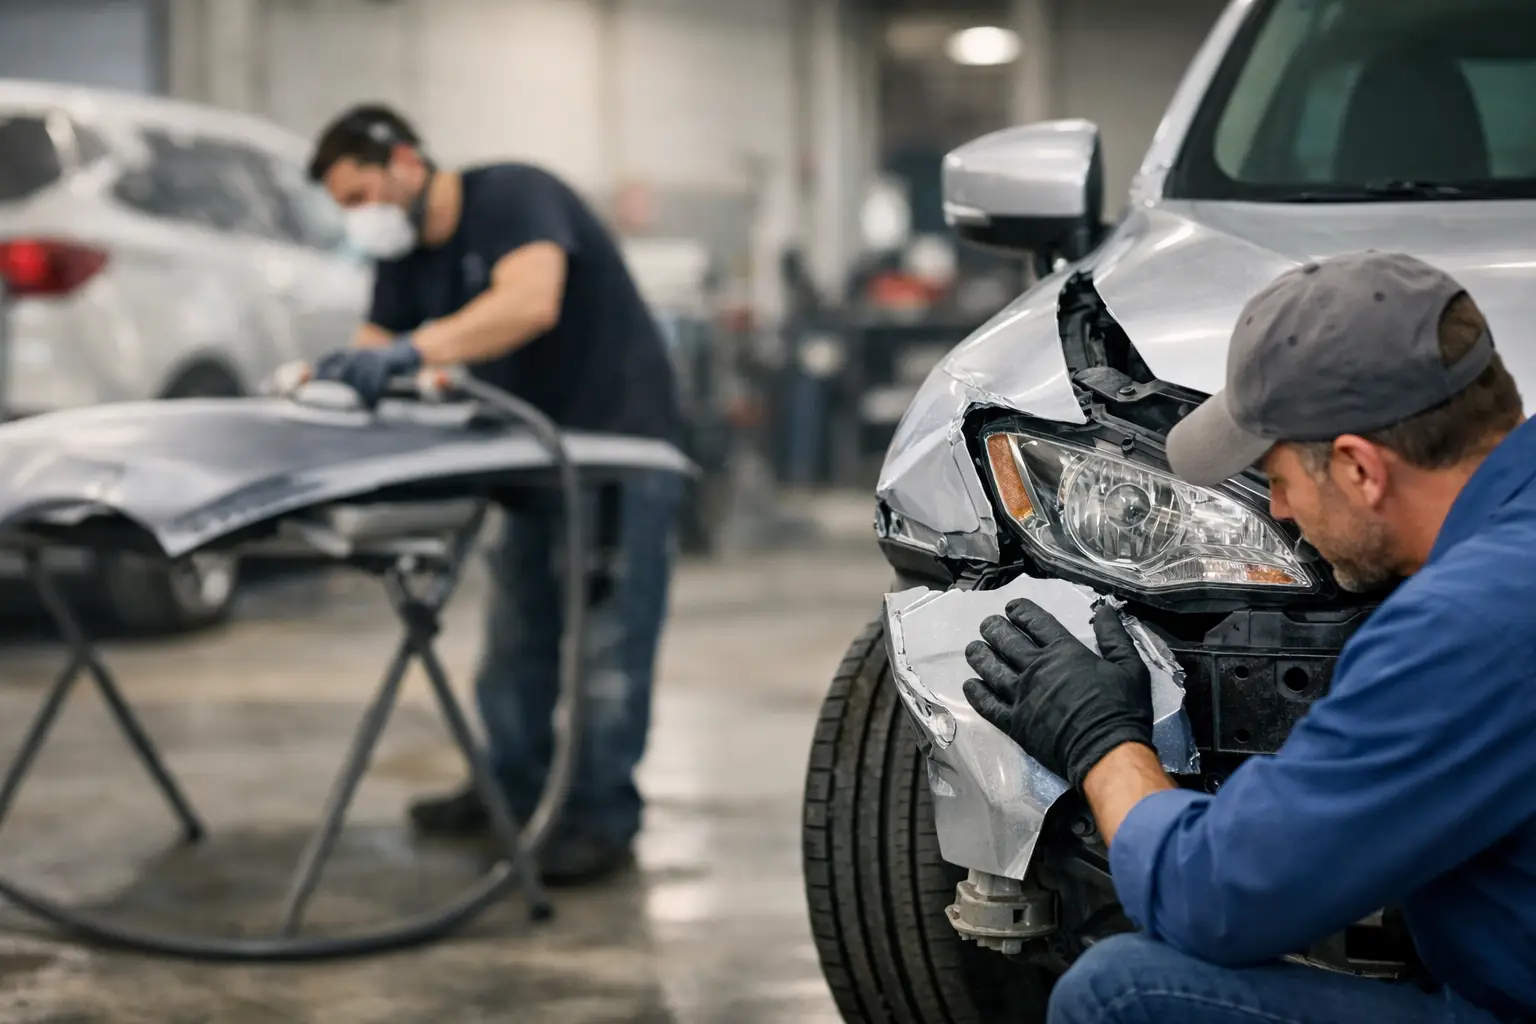
A damaged fender or bent quarter panel is easy to spot. What most drivers do not see is everything behind it - hidden structural damage, sensor alignment issues, paint blending challenges, and safety checks that determine whether the repair is actually complete. That is why understanding the collision repair process matters before you hand your vehicle over to any shop.
For drivers in Lakeland, the goal is usually simple: get the vehicle repaired correctly, get it looking right again, and get back on the road without bouncing between multiple vendors. A professional repair should restore both appearance and function, not just cover up visible damage.
What the collision repair process includes
The collision repair process starts with more than replacing broken parts. A proper repair begins with a full inspection to identify visible damage and any hidden issues caused by the impact. Even a low-speed accident can affect brackets, mounting points, suspension components, or safety systems that are not obvious at first glance.
From there, the work usually moves through disassembly, structural or body repair, panel replacement if needed, surface preparation, paintwork, reassembly, and final quality control. The exact order can vary depending on the vehicle and the type of damage, but the core goal stays the same: return the vehicle to a safe, road-ready, presentable condition.
This is also where shop capability matters. If body repair and paint refinishing are handled under one roof, the process is often more efficient and consistent. There is less handoff between providers, which helps reduce delays and keeps accountability clear.
Step 1: Damage assessment and repair planning
The first step is a detailed inspection. Technicians look at the damaged area, check adjoining panels, and assess whether the impact may have affected the vehicle structure or internal components. In many cases, some damage is only confirmed after disassembly.
This stage is important because the visible dent or scrape is not always the full story. A bumper cover might look repairable, for example, while the reinforcement behind it is bent. A door may still open, but the gap alignment may show movement in surrounding panels.
A repair plan is then built around the condition of the vehicle. That plan may include body straightening, panel repair, panel replacement, refinishing, and paint blending. If the vehicle has modern driver assistance features, calibration needs may also be part of the process depending on where the impact occurred.
Step 2: Disassembly and hidden damage check
Once the initial plan is in place, technicians remove damaged parts and trim pieces to inspect what is underneath. This part of the collision repair process often reveals additional issues that were not visible during the first walkaround.
That does not mean something went wrong. It means the inspection is becoming more accurate. Hidden damage is common after collisions, especially around bumpers, fenders, lights, and rear body panels. A thorough shop does not guess its way through this stage. It confirms what can be repaired, what must be replaced, and what needs to be measured for proper alignment.
This is also the point where parts ordering and timeline expectations become clearer. Some repairs move quickly. Others depend on part availability, the extent of the damage, or the need for more involved structural correction.
Step 3: Structural and body repair
If the vehicle has structural damage, technicians must address that before cosmetic work begins. The structure of the vehicle affects how panels fit, how doors and hoods align, and how the vehicle performs in future impacts. Cosmetic work done before correcting the underlying structure will not hold up well.
For non-structural damage, body repair may involve straightening metal panels, repairing dents, restoring contours, and preparing surfaces for refinishing. Not every damaged panel needs replacement. In some cases, repair is the better choice because it preserves original fit while keeping the job more efficient. In other cases, replacement makes more sense because the damage is too severe, the metal is stretched, or the panel cannot be restored to proper standards.
This is one of those areas where it depends on the vehicle and the impact. A clean repair is not about choosing the fastest method. It is about choosing the method that produces the right result.
Step 4: Surface preparation before paint
Paint quality depends heavily on prep work. Before any refinishing begins, repaired or replaced panels need to be sanded, leveled, cleaned, and primed as needed. Surface preparation is what helps paint adhere correctly and look consistent once cured.
This part of the process can take time, but it affects the final appearance more than many drivers realize. If the surface is uneven, contaminated, or poorly prepared, the finish can show imperfections, mismatched texture, or early wear.
Adjacent panels may also need blending so the repaired area matches the rest of the vehicle. That is especially important with modern finishes, metallic colors, and sun-faded paint where a straight panel-to-panel match may not look natural.
Step 5: Paint matching and refinishing
One of the most noticeable parts of the collision repair process is paintwork. A good repair should not leave one section of the vehicle looking newer, duller, or slightly off-color compared to the rest. That takes proper color matching, refinishing technique, and attention to surrounding panels.
Professional refinishing involves more than applying the listed factory color code. Age, exposure, and prior wear can affect how the existing paint appears on the vehicle. That is why blending and finish control matter. The aim is for the repaired area to look consistent with the rest of the vehicle under normal lighting conditions, not just inside the shop.
For a full-service shop, this is a major advantage. When body repair and automotive painting are handled together, the transition from repair to refinish is easier to manage. Work can move more efficiently, and the finished result is more likely to be visually consistent.
Step 6: Reassembly and fit check
After paint cures, the vehicle is reassembled. Trim, moldings, lights, bumper components, hardware, and related parts are put back into place. Then the shop checks fit, panel gaps, attachment points, and the overall finish.
This stage matters because a vehicle can be freshly painted and still not feel properly repaired if parts are loose, gaps are uneven, or components do not sit correctly. Reassembly is where the repair starts to look complete, but it is also where quality issues can become obvious if the earlier steps were rushed.
A proper fit check helps confirm that the vehicle is not only presentable but put back together the way it should be.
Step 7: Final inspection in the collision repair process
The final inspection is where the shop reviews the completed work before releasing the vehicle. This includes checking the repaired areas, verifying finish quality, confirming part installation, and making sure the vehicle is ready for return.
Depending on the repair, this may also include checking alignment of body lines, operation of doors and latches, light function, and the general condition of the repaired exterior. The goal is straightforward: the repair should meet quality standards, and the vehicle should be ready for normal use.
For customers, this is one of the clearest signs of professionalism. A shop that takes the final inspection seriously is focused on the full repair, not just the handoff.
What can affect repair time
Drivers often want a firm timeline right away, but repair time depends on several factors. The severity of damage is the biggest one. A minor dent and repaint is very different from a multi-panel collision with structural correction. Parts availability can also affect timing, especially for newer vehicles or specific trims.
Paint work adds its own time requirements because prep, application, and curing all matter. If hidden damage is found after disassembly, the schedule may shift because the repair plan has to be updated. That is normal in collision work and usually reflects a more accurate repair process, not poor planning.
Choosing the right local repair shop
If you need collision work in Lakeland, look for a shop that can handle both body repair and paint refinishing professionally. That reduces the need to coordinate between separate providers and makes the process more straightforward. It also helps when one team is accountable for the full result, from damage correction to final finish.
New Age Auto Painting serves local drivers who need that kind of complete repair approach. For vehicle owners dealing with accident damage, dents, or exterior restoration needs, a shop with repair and paint capability in one place can save time and reduce frustration.
A good repair should leave you with more than a vehicle that simply looks better in the parking lot. It should feel properly restored, fitted correctly, and ready for everyday driving again. If you are evaluating repair options, ask how the shop handles inspection, body work, paint matching, and final quality control - because that is where the real difference shows up.