New Age Auto Painting Blog · September 4, 2026
How to Repaint a Car Without Costly Mistakes
Learn how to repaint a car, from repair and prep to color matching and clear coat, and see when a Lakeland professional finish makes sense for your car today.
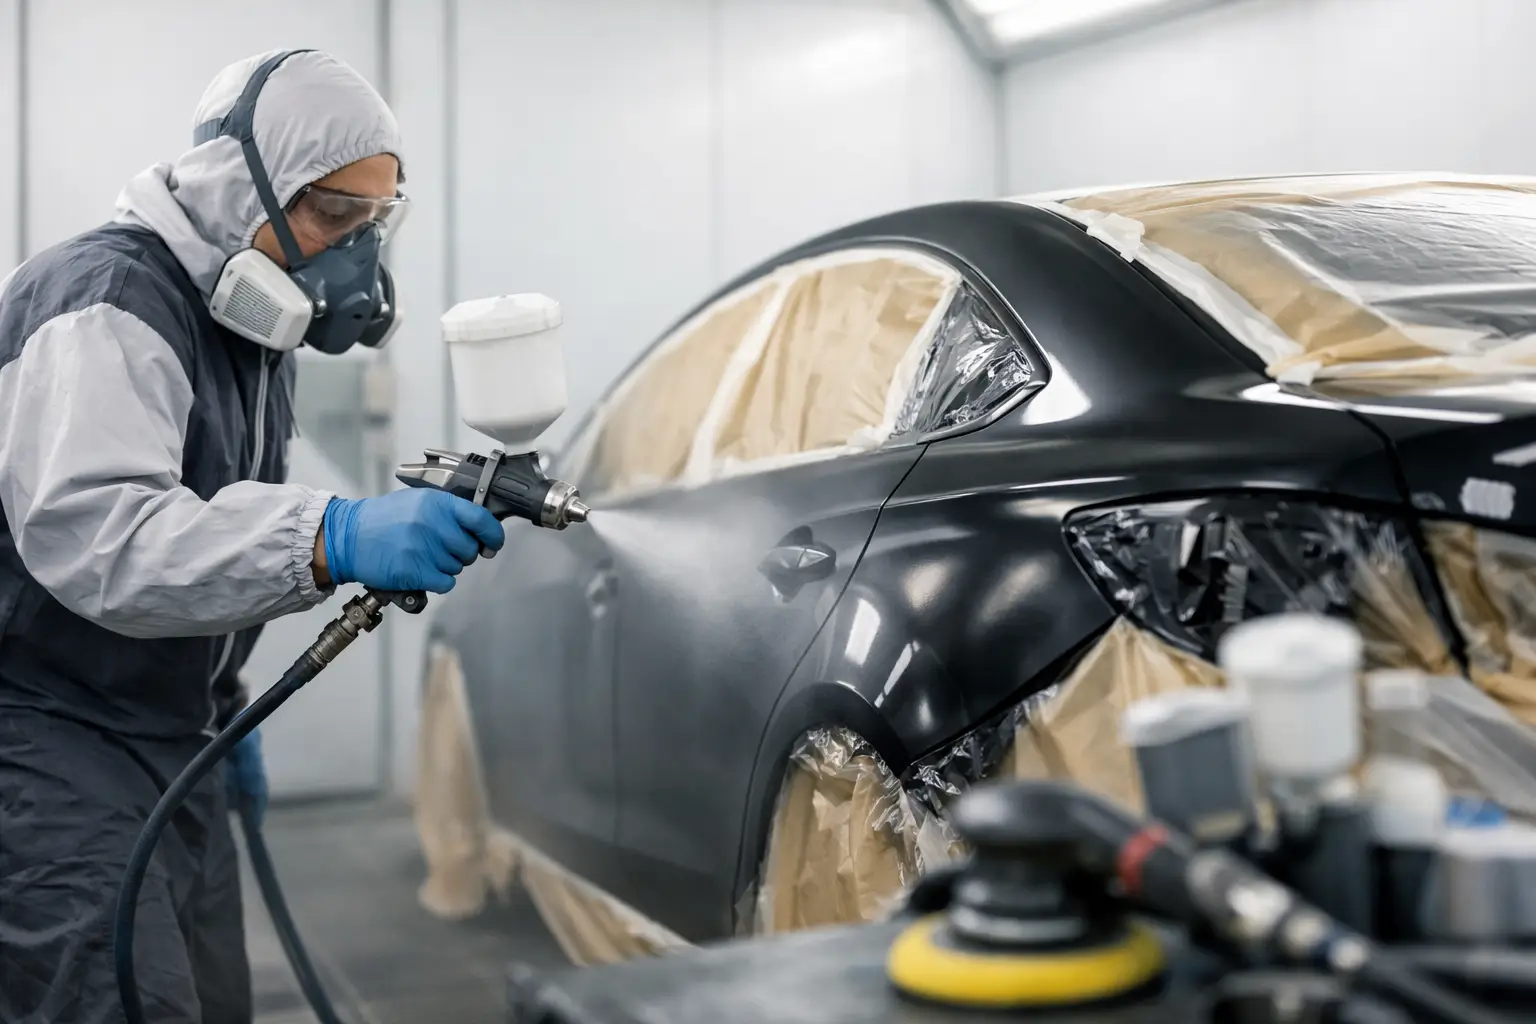
A faded hood, peeling clear coat, or a mismatched collision repair can make an otherwise reliable vehicle look neglected. Knowing how to repaint a car starts with one reality: paint is only as good as the bodywork and surface beneath it. A fresh coat may improve appearance, but it will not hide rust, dents, poor repairs, or damaged clear coat for long.
For Lakeland drivers, Florida sun, rain, humidity, and road debris can accelerate paint deterioration. The right repair approach depends on the size of the damaged area, the vehicle’s condition, and whether the goal is a short-term cosmetic improvement or a factory-quality finish that holds up over time.
Start With the Right Repaint Decision
Not every paint problem requires repainting the entire vehicle. Small scratches that have not reached the metal may respond to polishing or localized touch-up work. A damaged bumper cover, door, fender, or quarter panel can often be repaired and refinished as an individual panel, then blended into adjacent panels for a consistent color transition.
A full repaint makes more sense when clear coat failure is widespread, the vehicle has extensive sun fading, multiple panels have old paint damage, or a color change is planned. Full refinishing takes considerably more labor because trim, lights, handles, weatherstripping, and other components may need to be removed or carefully masked. It also creates more opportunities for color mismatch if the work is not planned properly.
Before scheduling paint work, inspect the vehicle in daylight. Look for peeling, bubbling, cracks, rust stains, prior body filler, dents, and panel gaps. Bubbling paint is especially important because it often signals corrosion underneath. Painting over it may look better briefly, but the rust can continue spreading below the new finish.
How to Repaint a Car: The Professional Process
A professional repaint is a controlled repair process, not simply spraying color onto an existing panel. Each stage affects adhesion, gloss, color accuracy, and durability.
1. Clean and inspect the surface
The panel is washed and cleaned with products designed to remove wax, grease, silicone, road film, and contaminants. This matters because residue can cause fisheyes, uneven paint coverage, or adhesion problems. The technician then determines whether the existing finish is stable enough to sand and refinish or whether failing paint needs to come off.
2. Repair dents, scratches, and corrosion
Dents are repaired before paint preparation begins. Depending on the damage, this can involve metal straightening, plastic bumper repair, body filler, glazing putty, or replacement of a damaged panel. Rust must be removed or treated correctly, and any perforated metal may require more extensive repair.
This is where a collision repair and paint shop offers a practical advantage. If an accident has left a panel bent or a bumper cracked, body repair and refinishing can be handled as one coordinated job. The paint process is planned around a properly restored surface rather than used as a shortcut over visible damage.
3. Sand for a smooth, stable foundation
Sanding removes damaged clear coat, levels repair areas, and creates the surface profile needed for primers and paint to adhere. Coarser grits shape body filler and smooth repairs, while finer grits refine the panel before sealer and color are applied.
The goal is not to sand everything to bare metal unless the panel condition requires it. Unnecessary stripping adds time and can introduce avoidable problems. A technician evaluates the old finish and uses the preparation method that fits the damage.
4. Apply primer and sealer where needed
Primer builds and levels repaired areas, helping create a uniform foundation. After it cures, it is sanded again to eliminate texture and minor imperfections. A sealer may then be used to create a consistent base color and improve the way the topcoat lays down.
Skipping this step is one reason do-it-yourself paint jobs often show repair outlines, sand scratches, or uneven color. Dark colors and metallic finishes are particularly unforgiving because they reveal small surface defects in direct sunlight.
5. Match and apply the basecoat
Modern vehicles are rarely painted with a simple one-color formula. Factory colors can vary by production batch, sun exposure, previous repairs, and age. A paint code provides a starting point, but color matching may require spray-out cards and tint adjustments before the technician paints the vehicle.
The basecoat is applied in controlled, even passes. Metallic and pearl colors require careful technique because the orientation of the flakes changes the way the color appears. A panel can technically have the correct paint code and still look wrong beside the original paint if it is not blended properly.
6. Apply clear coat and allow proper curing
Clear coat provides depth, gloss, and protection from ultraviolet exposure. It also gives the surface enough film build to be refined later if dust nibs or minor texture need correction. After curing, the finish may be wet sanded and polished for a smoother final appearance.
The job is not ready just because the panel looks shiny when it leaves the spray booth. Cure time matters. Fresh paint needs time to harden before it is exposed to aggressive washing, waxes, or harsh chemicals.
Why Paint Booth Conditions Matter in Florida
Automotive paint reacts to temperature, humidity, dust, and airflow. Spraying a car in a driveway, garage, or open work area can lead to dirt in the finish, dry spray, runs, uneven gloss, and contamination. Florida humidity creates an additional challenge because moisture and changing temperatures can affect products and cure times.
A professional spray booth is designed to manage the environment around the repair. Clean airflow and proper lighting help technicians spot coverage issues before the paint cures. Controlled application also helps reduce the chance of overspray reaching nearby glass, trim, or other vehicles.
For a small, older project car, a do-it-yourself approach may be acceptable if the owner understands the limits and has the proper safety equipment. For a daily driver, late-model vehicle, lease return, or collision repair, professional refinishing usually protects the vehicle’s appearance and resale value more effectively.
Common Repainting Mistakes That Raise the Final Cost
The most expensive paint problems often start as attempts to save time on preparation. Painting over peeling clear coat traps a failed layer beneath the new finish. Spraying color without correcting dents creates a glossy finish that highlights the damage instead of hiding it.
Poor masking is another common issue. Overspray can settle on windows, tires, moldings, door jambs, and nearby panels. Mismatched color, visible tape lines, and rough clear coat texture can also make a vehicle look partially repaired rather than restored.
Avoid these shortcuts when evaluating a repaint:
- Painting over rust bubbles or loose, peeling paint
- Using household cleaners that leave silicone or wax residue
- Skipping primer over repaired or exposed areas
- Choosing a color solely by paint code without test matching
- Waxing or using automated car washes before fresh paint has cured
A lower quote is not always a better value if it excludes the repair work, color blending, disassembly, or finishing needed to make the result look right. Ask what panels will be painted, whether adjacent panels will be blended, and how defects beneath the paint will be addressed.
What to Expect After Your Car Is Repainted
After refinishing, follow the shop’s care instructions because products and cure schedules vary. In general, avoid harsh cleaners, abrasive polishing, and automatic car washes with stiff brushes during the early cure period. Hand washing with a mild automotive soap is typically the safest choice once the shop confirms it is appropriate.
Keep the vehicle out of prolonged direct sun when practical, especially during the first days after painting. Once the finish has fully cured, routine washing and quality paint protection can help preserve gloss and reduce damage from bird droppings, tree sap, and Florida’s intense UV exposure.
If you notice a color difference, dirt in the finish, or a concern around a repaired area, raise it promptly. Good repair communication is easier when concerns are addressed soon after pickup rather than months later.
When to Bring Your Vehicle to a Local Auto Body Shop
Bring the vehicle in for an inspection when paint damage follows a collision, includes dents or cracked plastic, exposes metal, shows rust, or affects more than one panel. These conditions often need more than touch-up paint. A shop can determine whether paintless dent repair, conventional body repair, panel refinishing, blending, or a larger repaint is the sensible option.
New Age Auto Painting helps Lakeland-area vehicle owners address body damage and paint restoration in one place. The best repaint is not simply the shiniest one on day one. It is the finish built on sound repairs, accurate preparation, and a plan that fits the condition of your vehicle.