New Age Auto Painting Blog · July 10, 2026
How to Repaint a Damaged Hood Properly
Learn how to repaint a damaged hood properly, from sanding and prep to primer, color, and clear coat, and when professional repair makes sense.
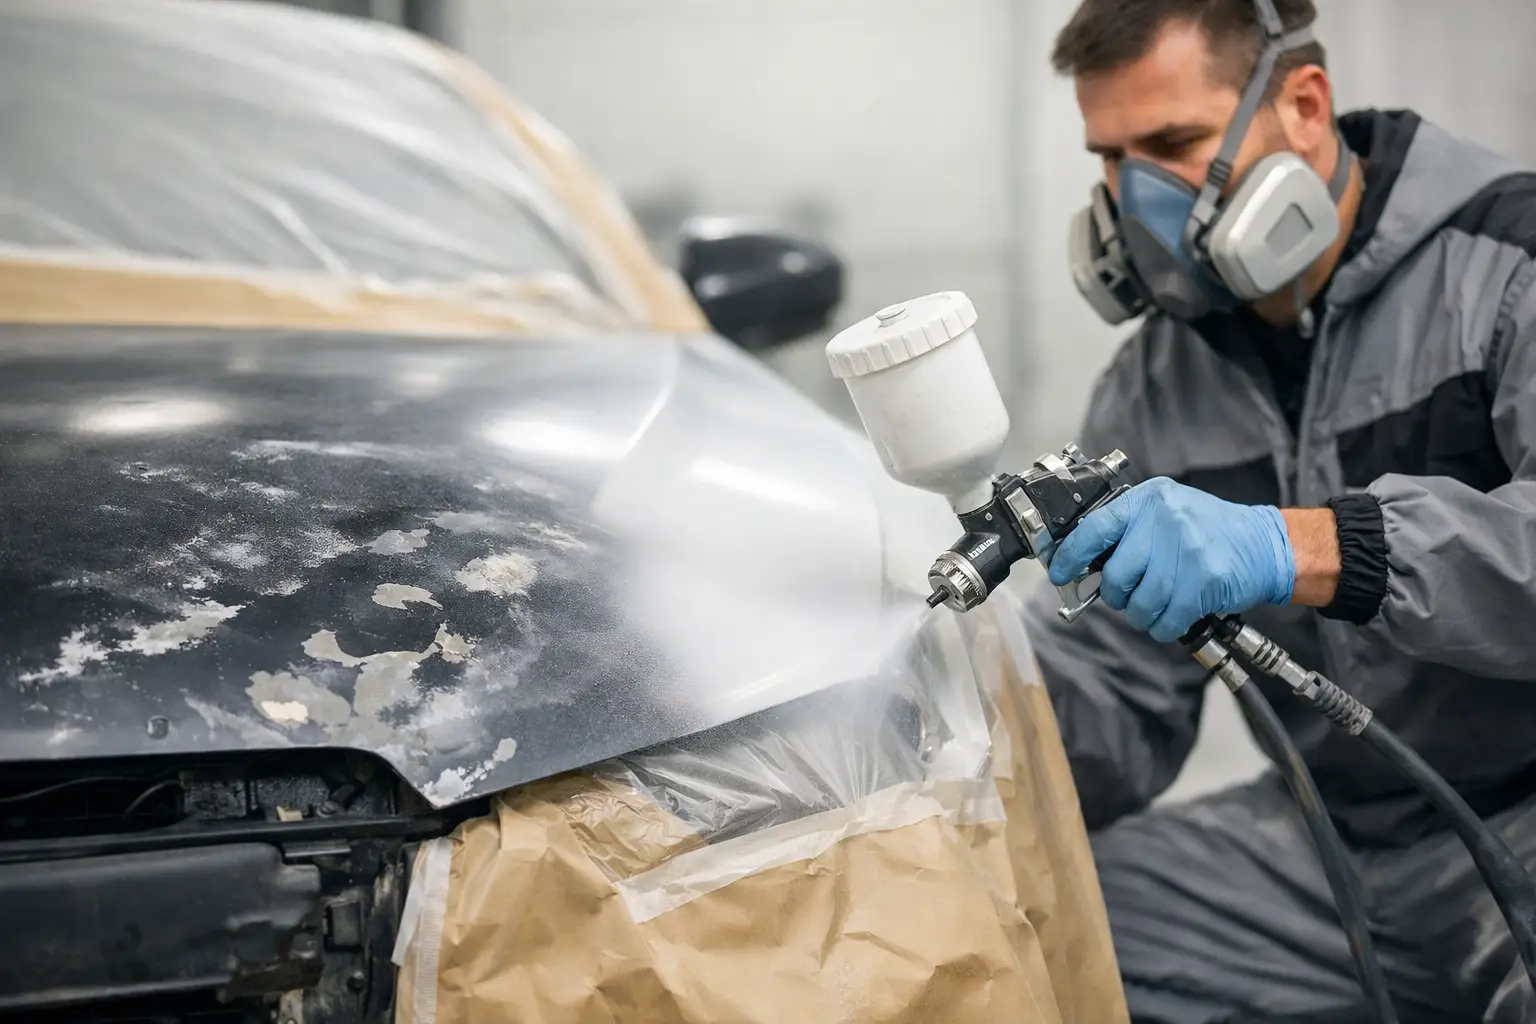
A hood usually takes the worst of it. Sun exposure, rock chips, peeling clear coat, scratches, and front-end impact damage all show up fast on that large, flat surface. If you are looking up how to repaint a damaged hood, the real question is usually whether the hood only needs refinishing or whether it also needs body repair before any paint work starts.
That distinction matters. A hood with faded paint and chips can often be repainted after proper surface prep. A hood with dents, creases, rust, or collision damage needs more than fresh paint if you want the finish to look right and last.
How to repaint a damaged hood the right way
Repainting a hood is not just a matter of spraying new color over the old finish. Good results come from repair, prep, product compatibility, and controlled application. If one step is rushed, the final finish can show sanding marks, patchy color, texture problems, or early peeling.
The first step is to inspect the damage closely. Light surface scratches, clear coat failure, oxidation, and minor chips are paint problems. Sharp dents, bent edges, cracked filler, rust bubbles, and damage near body lines are repair issues. If the hood was hit in a collision, alignment and panel shape should be checked before paint begins.
Once the condition is clear, the hood needs to be cleaned thoroughly. Wax, road film, grease, and silicone residue can cause paint defects such as fisheyes and poor adhesion. A proper cleaning process matters more than many vehicle owners realize, especially in Florida where heat, moisture, and contaminants can work against the finish.
Surface prep is where the finish is won or lost
If the hood only has failing paint or minor imperfections, the damaged finish is sanded down to create a stable surface. If there are rock chips or small low spots, those areas may need filler or glazing putty, followed by additional sanding to level the panel. If bare metal is exposed, that section usually needs the correct primer before color is applied.
For hoods with deeper dents or impact damage, body repair comes first. That may include metal straightening, filler work, block sanding, and checking the panel for straightness under proper lighting. Painting over unrepaired damage does not hide it. On a hood, even slight imperfections tend to stand out because the panel catches light from every angle.
After repair, the surface is sanded in stages. Coarser grit removes failed material and shapes repairs. Finer grit smooths the panel and prepares it for primer or sealer. This is one of the biggest differences between a quick repaint and a professional one. The final color coat can only look as good as the surface underneath it.
Primer, sealer, and color matching
Primer is not optional when the hood has exposed metal, repaired areas, or sand-through spots. It gives the topcoat a stable foundation and helps protect the panel. Depending on the condition of the hood, a technician may use epoxy primer, urethane primer-surfacer, or sealer before basecoat. The exact product depends on the repair and the paint system being used.
Color matching is another step that sounds simple but often is not. Modern factory paint can vary slightly from one vehicle to another due to age, sun exposure, and production differences. On a hood, that matters because it sits next to the fenders and in front of the windshield, making any mismatch easy to spot.
A professional shop will usually match the vehicle’s paint code and then account for real-world variation. In some cases, blending into adjacent panels may be the best way to make the repair less visible. It depends on the color, the age of the finish, and how noticeable a panel-to-panel difference would be.
Why a hood is harder to paint than it looks
A hood seems straightforward because it is large and accessible, but that same size makes defects easier to see. Metallic and pearl finishes can stripe or mottle if the paint is not applied evenly. Dark colors show sanding scratches and waviness. Lighter colors can still reveal poor prep when viewed in direct sun.
Dust control, spray pattern, flash time, and booth conditions all affect the result. Too much material can lead to runs or solvent problems. Too little can reduce gloss or coverage. If the clear coat is uneven, the hood may not match the rest of the vehicle in texture or depth.
That is why DIY hood repainting often looks acceptable from a distance but falls short up close. The issue is usually not just the paint itself. It is the full process behind it.
Common mistakes when repainting a damaged hood
One of the most common mistakes is painting over unresolved damage. If there is denting, edge distortion, or rust under the surface, paint alone will not fix it. Another problem is inadequate sanding. If gloss remains where it should have been scuffed or removed, new coatings may not bond well.
Skipping proper cleaning also causes trouble. Wax residue, oil from hands, and leftover contaminants can interfere with adhesion and appearance. Product mismatch is another issue. Not every primer, basecoat, and clear coat works well together unless they are part of a compatible system.
There is also the question of feathering old paint correctly. If chipped or peeling areas are not transitioned smoothly, the outline can show through the final finish. On a hood, those edges tend to become more visible over time as the paint cures and weather exposure takes its toll.
When the hood should be repaired instead of just repainted
If the damage came from a front-end collision, repainting may only be one part of the job. The hood could be bent, the latch area could be affected, or the panel gaps could be off. In those cases, the right repair approach protects both appearance and function.
Rust is another factor. Surface rust can sometimes be removed and refinished if caught early. But if corrosion has spread under the paint or through the metal, a longer-lasting repair may require more extensive body work or even panel replacement. Repainting over active rust rarely holds up for long in Florida conditions.
If your hood has widespread clear coat failure but no structural or body damage, refinishing may be enough. If it has a combination of dents, chips, peeling paint, and previous poor repairs, a more complete repair and repaint process is usually worth it.
Professional hood repainting vs. a quick cosmetic fix
Some vehicle owners just want the hood to look better than it does now. Others want it restored to match the rest of the vehicle as closely as possible. Those are two different standards, and the process changes depending on the goal.
A quick cosmetic fix may improve appearance for a while, but it often leaves behind texture differences, weak adhesion, or color variation. A professional repaint focuses on surface correction, material compatibility, proper spray application, and durability. That matters if you plan to keep the vehicle, maintain resale value, or avoid doing the same repair again too soon.
For daily drivers in Lakeland, it also helps to think about local conditions. Heat, humidity, UV exposure, and heavy rain can shorten the life of a poorly prepped paint job. A properly refinished hood is better equipped to handle that environment.
How to know if it is time to bring your hood to a body shop
If the hood has peeling paint, deep scratches, visible dents, rust, or accident damage, it is a good time to have it evaluated by a professional. The same goes for any hood that has already been repaired before and is now showing cracking, lifting, or mismatched paint.
An experienced auto body and paint shop can tell whether the panel can be repaired, whether the existing finish is stable enough to refinish, and whether blending or additional body work will be needed for a cleaner result. That saves time and helps prevent spending money on a repaint that does not last.
At New Age Auto Painting, hood refinishing is approached as part of the full repair picture, not as an isolated paint problem. That means looking at panel condition, damage depth, paint match, and final finish quality together so the vehicle leaves looking right and road-ready.
If your hood is damaged, the best next step is not guessing which paint to buy. It is finding out what the panel actually needs so the repair holds up, matches well, and restores the look of the vehicle the way it should.